Store Management
Configure this store's basic info, logo, timezone and calendar, staff clock-in entry, and manage members and invites. Most settings require Manager permission, the full backup requires Owner permission, and Staff can only view.
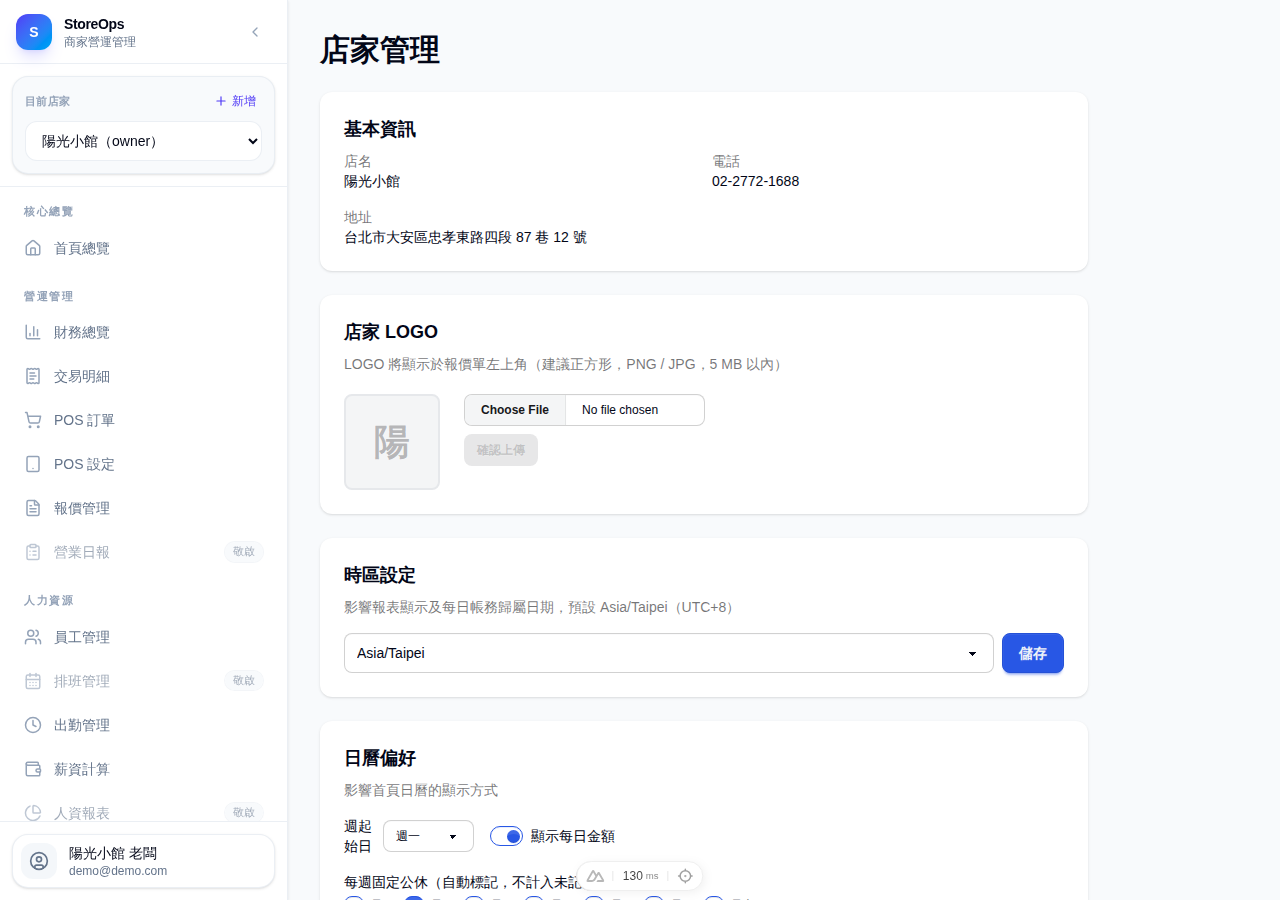
Store Info
The Basic Info card shows Store Name, Phone, and Address as a read-only view; everything you can change is in the cards below.
Store Logo
- In the Store Logo card, pick an image file (square recommended, PNG / JPG, under 5 MB).
- Click Confirm Upload. The logo appears at the top-left of quotations; uploading a new image replaces the existing one.
Manager permission required.
Timezone & Calendar Preferences
- In Timezone, pick a timezone (defaults to Asia/Taipei) and click Save. This affects report display and the date bookkeeping is attributed to.
- In Calendar Preferences, set Week starts on, toggle Show daily amount, and check the Weekly closing days (closing days are auto-marked and not counted as unrecorded).
- Each block has its own Save button — save them separately.
Manager permission required.
LINE Clock-in Entry
- The first time, click Create Entry to generate this store's LINE clock-in link.
- Use Copy to hand the link to staff, or Download QR to print and post it in-store.
- If the link leaks, click Reset Entry to invalidate the old link and issue a new one.
Manager permission required. Staff clock in by scanning the QR with LINE — no system login account needed.
Chrome Extension
- In the Chrome Extension card, click Copy to get the API Key and enter it in the browser extension to auto-capture platform credentials.
- If the key leaks, click Regenerate — the old key stops working immediately.
Manager permission required.
Notifications
Click Go to Settings to open the notifications page and set up LINE / Discord / Telegram for daily reminders and sync failure alerts.
Manager permission required.
Full Backup
Click Download Backup Zip to export all business data (including platform session ciphertext, customer personal data, and uploaded files) as a zip; downloading starts after you confirm.
Owner permission required. The backup contains sensitive data — store it only on an encrypted disk and re-encrypt before sharing.
Member Management
- The Member Management table lists every member; use the dropdown in the Role column to change a member to Staff / Manager / Owner, or click Remove to remove them from the store.
- To invite someone: at the bottom, enter an Email (optional), pick a Role, click Generate Invite Link, and send the link to them.
- Generated but unused invites are listed under Pending Invites, where you can Cancel them.
The invited role decides who can invite: inviting Staff / Manager needs Manager permission, inviting an Owner needs Owner permission. If you fill in an email, the invite is bound to that address and only that person can accept; the link is shown only once and expires after 7 days.
Changing or removing an Owner requires Owner permission; the system always keeps at least one owner, so the last owner can't be removed or demoted.